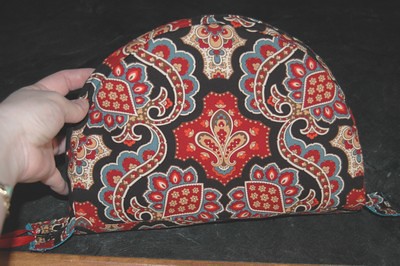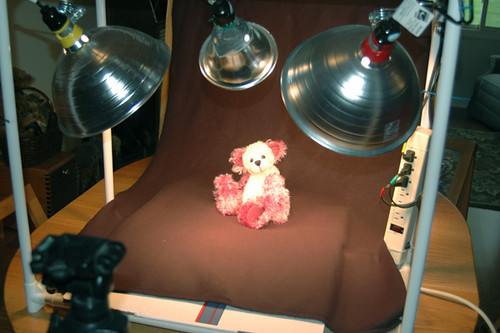
I thought I'd share my "photo studio" with you today! I use this for all of my "Studio shots" of my bears... and my husband uses it for the studio photographs of the model cranes and trucks he repaints! This can be used for photographing any small objects! I do not recommend using it as a studio for people or pets though... it's not quite sturdy enough for that!
This "Studio" was designed for use with a digital camera. Why? Because the lighting used is not "daylight balanced" and would show up as very yellow/orange in the finished photo of a regular film camera.
Most digital cameras have a "white balance" feature. It is different on each camera. Look in your camera's manual for "white balance" and it will show you how to do it.
Here is the list of what I used to make the "Studio".
- 1) The pvc frame from a 3-basket Laundry Sorter - (it's lightweight!)
- 2) At least 3 clamp on work lights with reflectors
- 3) 200 watt bulbs
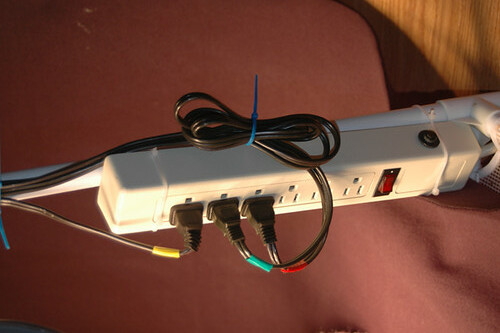
- 4) 6 outlet power strip with switch
- 5) Wire ties
- 6) Electrical tape & sandpaper
- 7) A big foam board from the office supply store (to use as a background holder)
- 8) Assorted colors of plain colored fleece fabric (it doesn't wrinkle!) I use black, white and royal blue
- 9) A box top and a box to lie across the top of the bottom of the pvc frame, to give a nice "bottom" to the studio. I'll have to take a picture of this next week next time I have the studio up again!
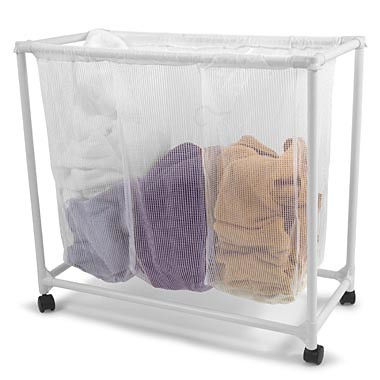
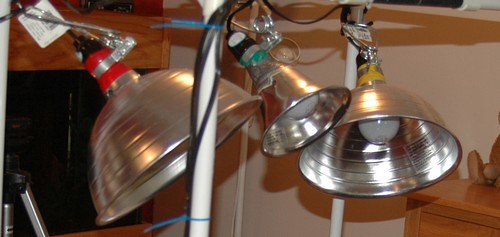
I took the baskets off the laundry sorter, and clamped the lights onto the frame. I did put some sandpaper on the frame where the lights clamped to make it easier for them to hold. The lights are also held in place with some plastic wire ties, and electrical tape helps to hold the reflectors on because these were giving me trouble. (not all do!)
I also wire tied the electrical power strip to the pvc frame. I wanted to be able to turn all of the lights on and off with one switch. I do NOT leave these lights on for very long as it can be a fire hazard using 200 watt bulbs in these!!!!
I put a boxtop down in between the pvc frame and the box that helps to hold the big foam board. (I really need to take a picture of this, sorry!) I then lay a flattened box or cardboard across the bottom of the pvc frame - so the "floor" of the studio is nice, flat and even.
I then drape one of my fleece backgrounds over the propped up foam board and across the "floor"
Now I am ready for the studio session!
I always use a tripod for these studio photography sessions. I tried both with and without... and using the tripod make a huge difference in the sharpness of my pictures!
I mount my camera on the tripod, turn on the lights, set the "white balance" on the camera, and pose the bear!
After each bear's "Studio session", I turn off the lights with the switch on the power strip for a minute or so. (it gets VERY hot!) Be VERY careful about this! The reflector fixtures for these lamps are only supposed to hold 60 watt bulbs. I am using 200 watt bulbs!!! If they are on for too long... they WILL cause a fire! I can't stress the importance of the safety enough :)
So... why ARE you using 200 watt bulbs if you can't leave them on for more than a few minutes? To get good photographs... you need a LOT of light! I didn't want to have 9 reflector lights clamped on the frame :)
Here are a few more shots of the "Studio" at different angles....
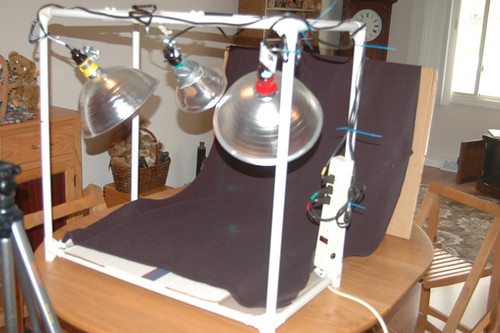
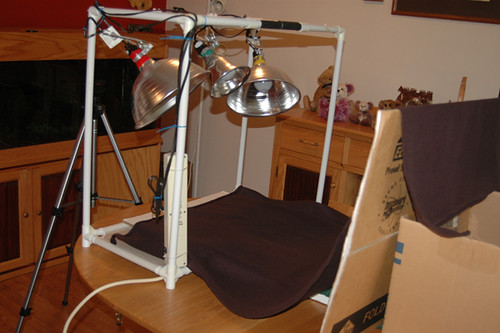
I hope this helps... I'll try to remember to take a picture of the "floor" of the studio before it is covered up next time I set it up! If you have any questions, be sure to ask!
Hugz,
Laura Lynn
Labels: My studio


